Double Exposure
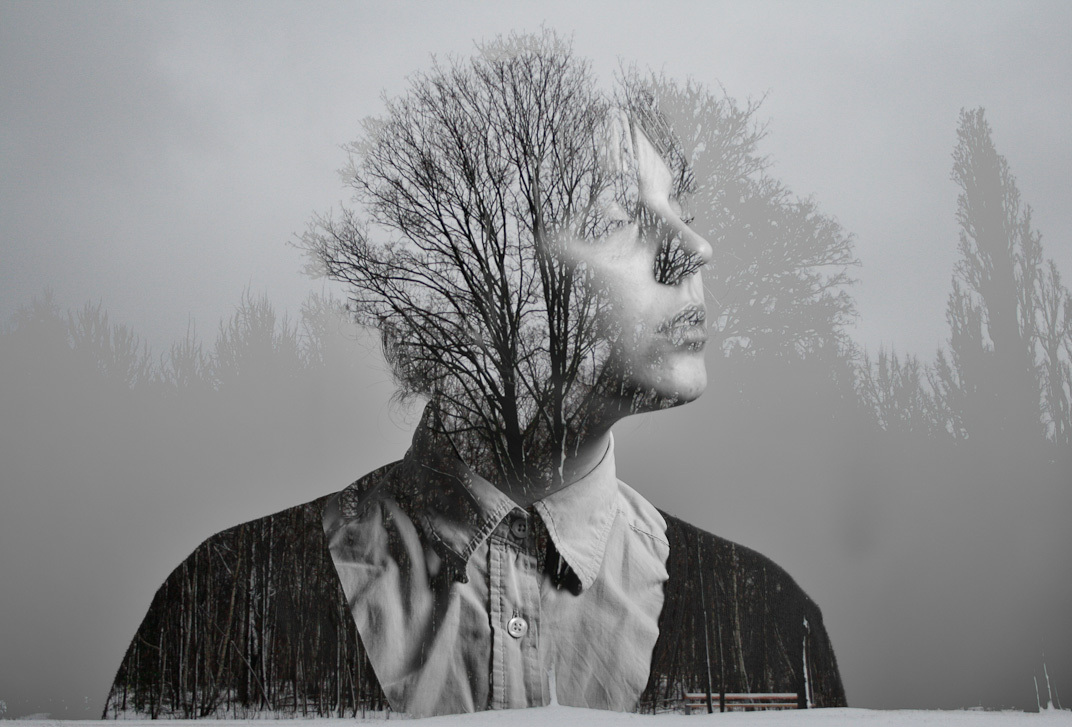
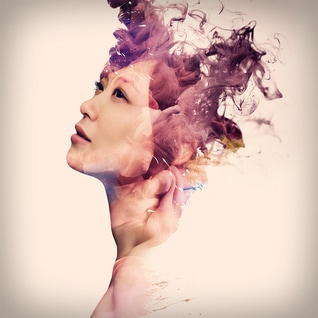
Double Exposure, is a photographic technique that combines 2 different images into a single image. The technique has been practiced for several years, and it became particularly famous recently, due to the fact that graphic editor like Photoshop can help to create the identical effect.
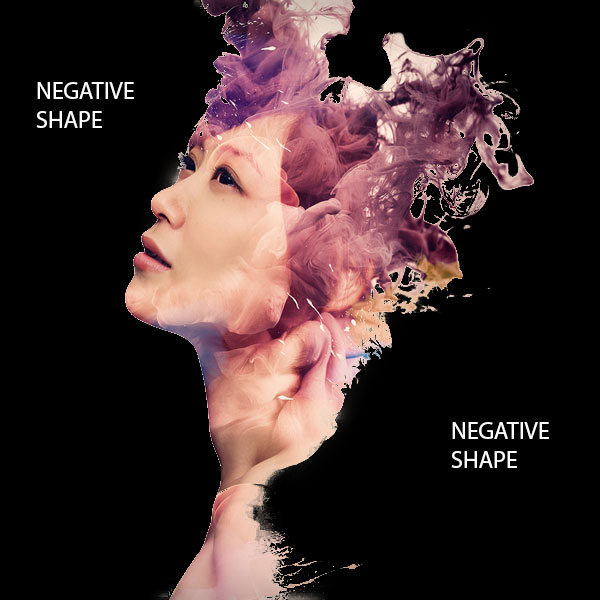
Positive & Negative Shapes
Consider the positive and negative space in each photo, and how it can be made more interesting by combining images.
Positive Shape/Space: Shapes or spaces that are or represent solid objects. The shape of an object that serves as the subject for a drawing. The relationship between positive shape and negative space is sometimes called figure/ground, foreground/background relationship.
Negative Shape/Space: Refers to shapes or spaces that are or represent areas unoccupied by objects. The space surrounding a positive shape; sometimes referred to as a ground, empty space, field, etc.
|

|
Directions
Create a total of 3 Double Exposure Images using different main images of yourself. If you don't have any images of yourself, ask to go in the hall to take some. Find at least 3 images to use as the overlapping (double exposure) images using search creative commons.
For each Double Exposure you create, you must use at least 2 images you can use more (3-4) if you choose.
The finished double exposure images:
- 1 in B&W
- 1 Full Color
- 1 Combination of 1 color image and 1 black and white image.
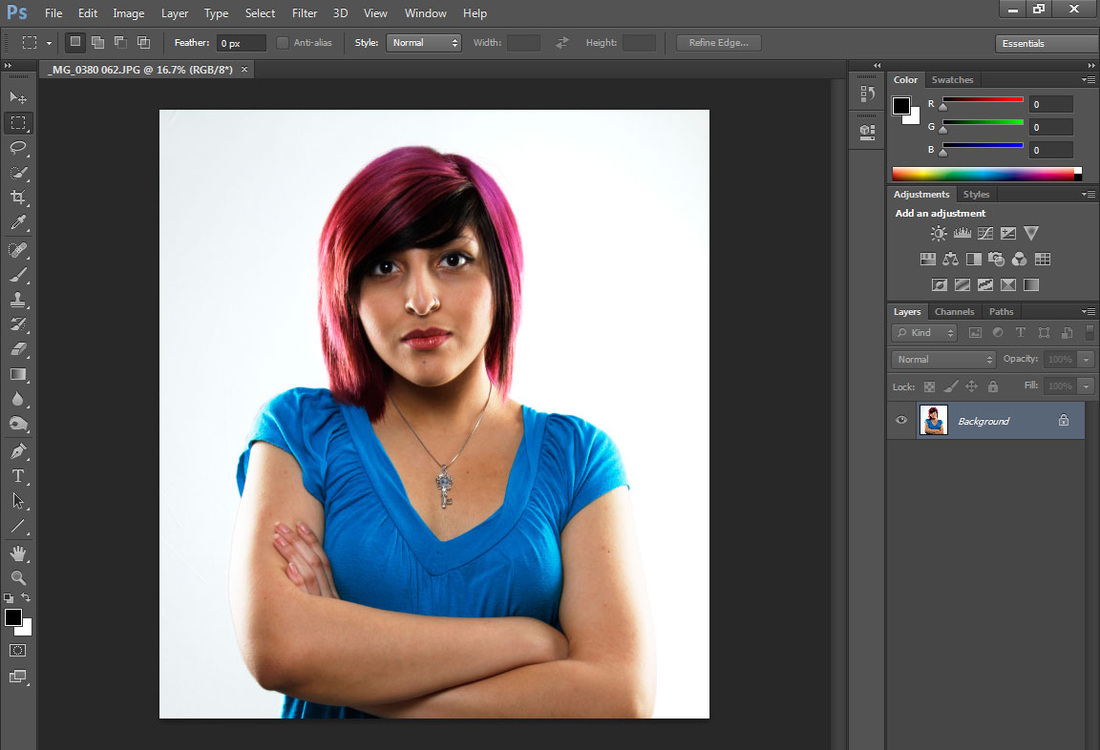
Step 1
Open up one of the photos I took of you in Photoshop CS6
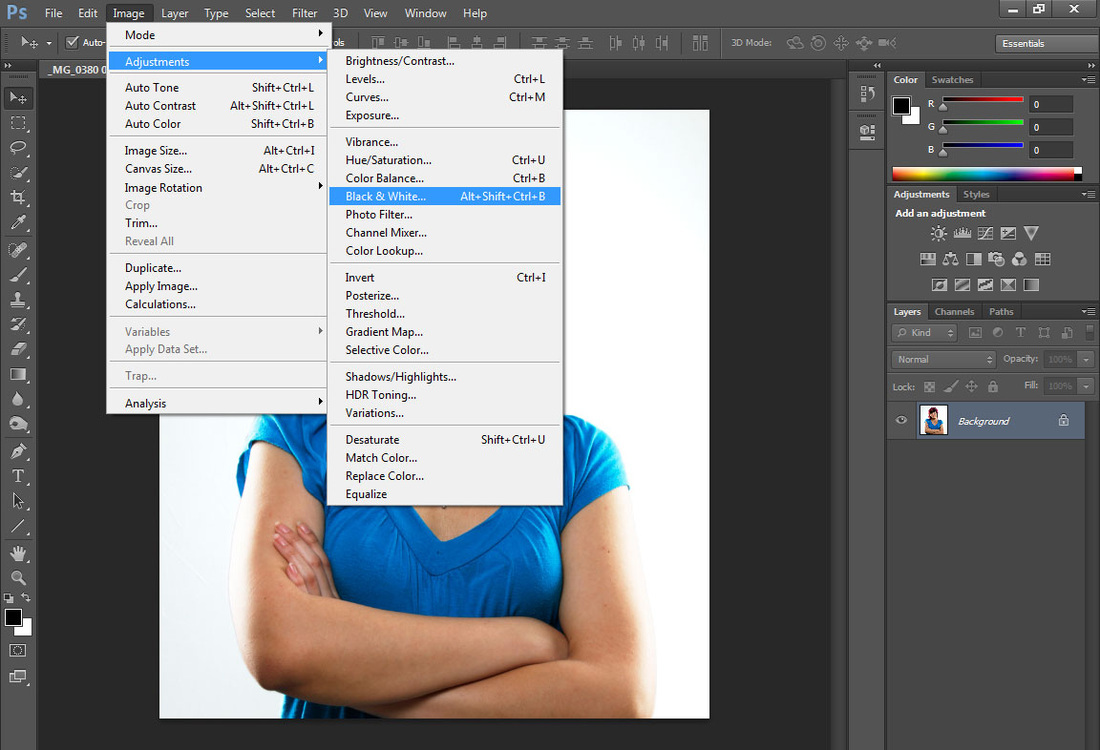
Step 2
Go to Image > Adjustments > Black & White
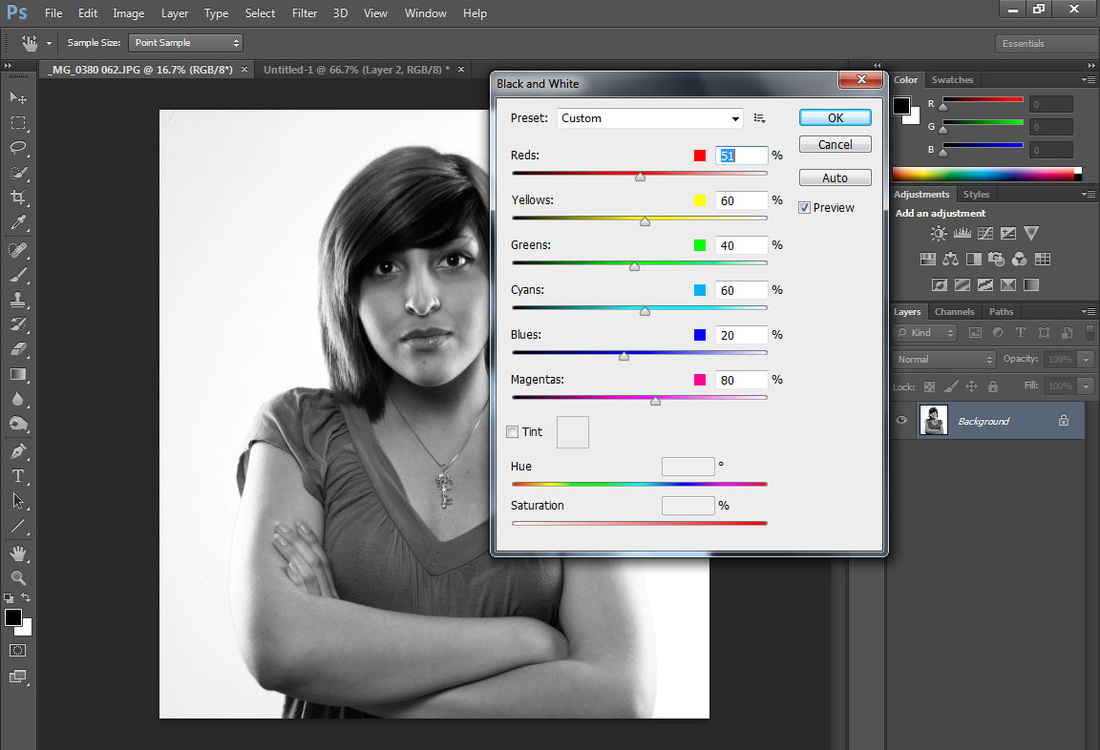
Step 3
Adjust the sliders here to get the image looking like the example below. Then click OK
Step 4
Search for photos using search creative commons (Google Images or Flickr Images) and try to find LARGE size outdoor nature, buildings, and architecture photos.
Save these to the computer and then open one up in Photoshop.
Drag this photo onto the photo of you. Adjust the size of this photo if needed.
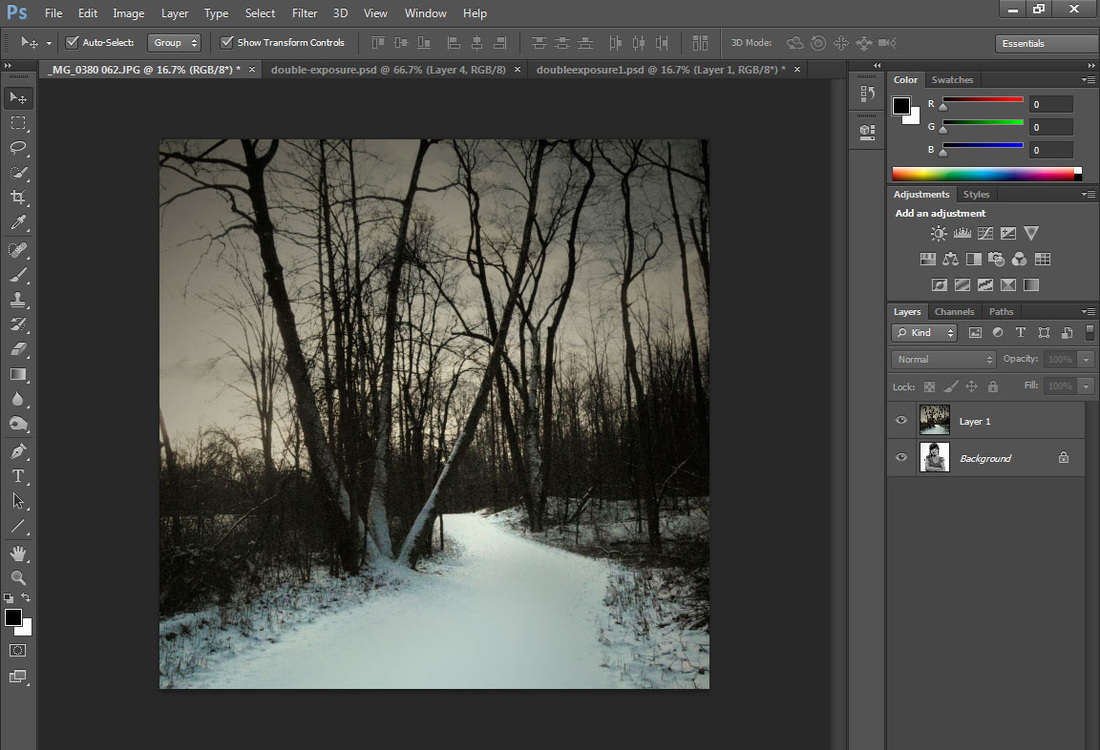
Step 5
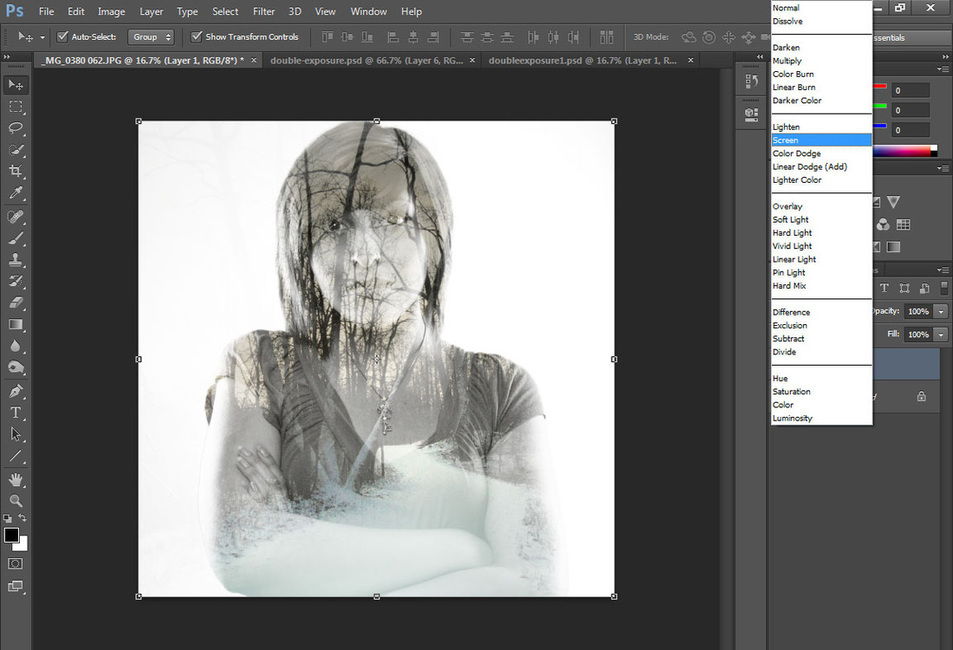
Select the top layer (nature photo in this example) and adjust the Layer Blending Mode.
Play with the different Layer Blending Modes until your image looks intriguing.
In this example, the student changes the Blend Mode to Screen. You may not use this particular blending mode, try a bunch to find out which one works best for your images.
Step 6
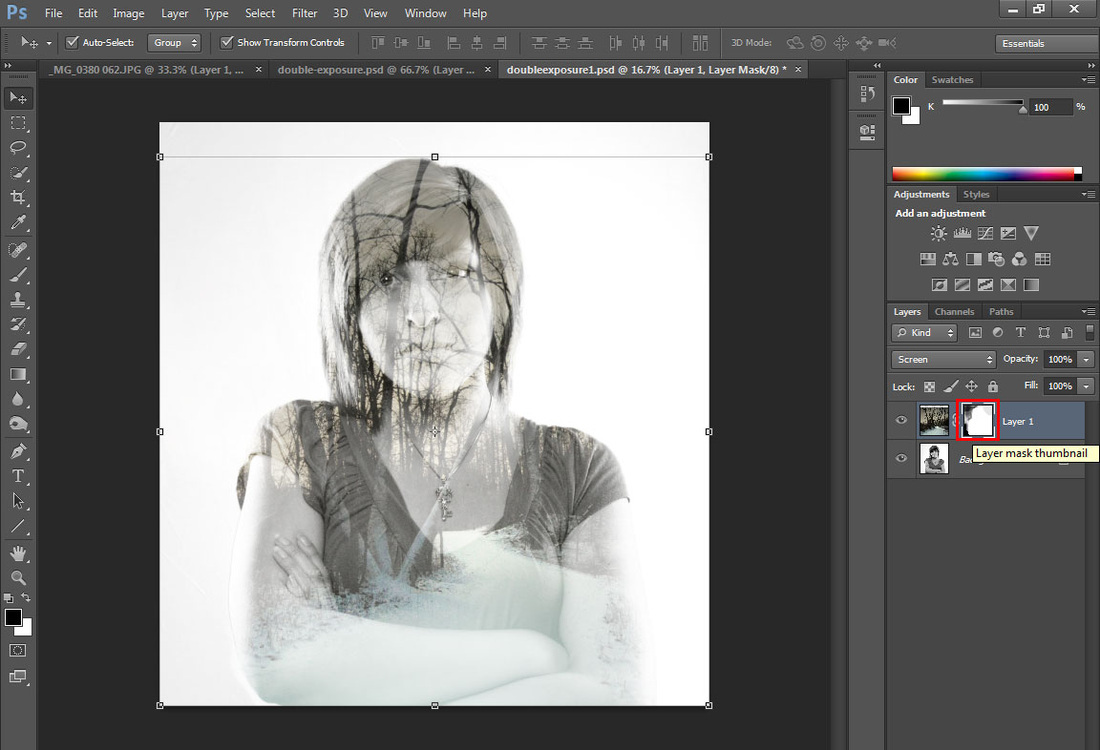
A Layer Mask was also added to remove part of the photo still visible outside the figure.
You must use the Layer Masking technique to hid different parts of the photo you don't want visible.
Step 7
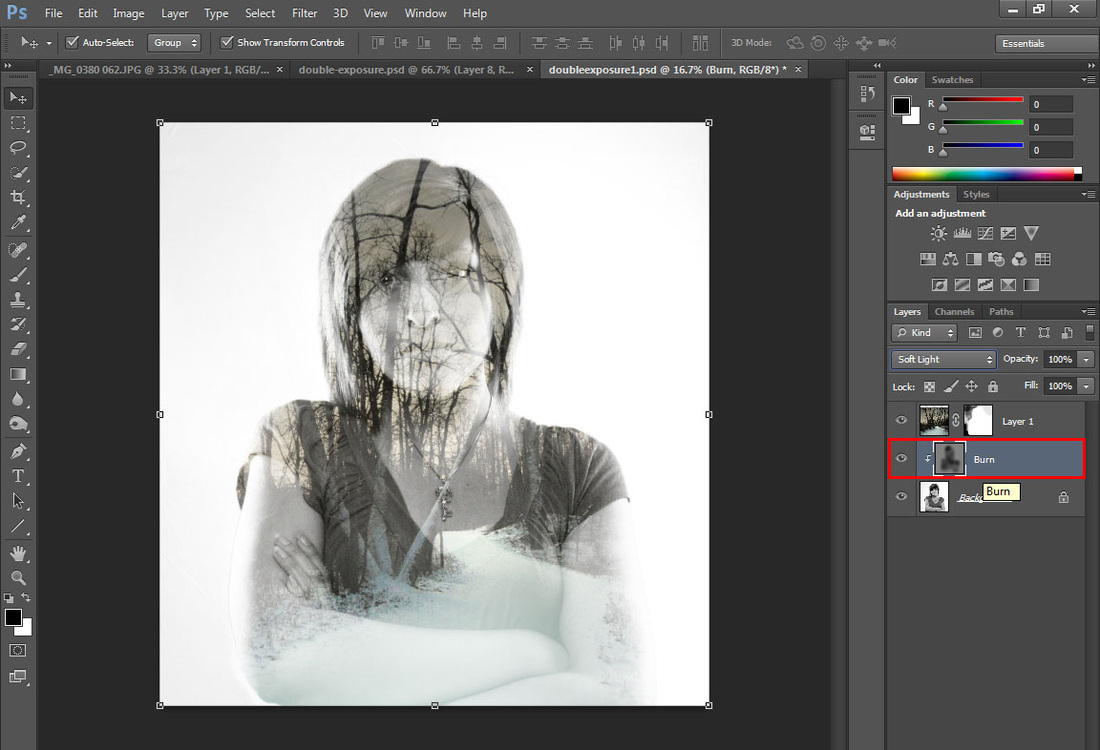
A separate Dodging and Burning Layer could be added to help make selective light areas lighter (Dodging) and dark areas darker (Burning).
Step 8
Save image to your Z: drive folder as Your Last Name_DoubleExposure1.psd and to the correct folder on the Visual Arts (V:) drive for Grading when finished
Repeat this process above 4 more times using different photos of you and different overlapping (double exposure) photos. Your Last Name_DoubleExposure2.psd andYour Last Name_DoubleExposure3.psd