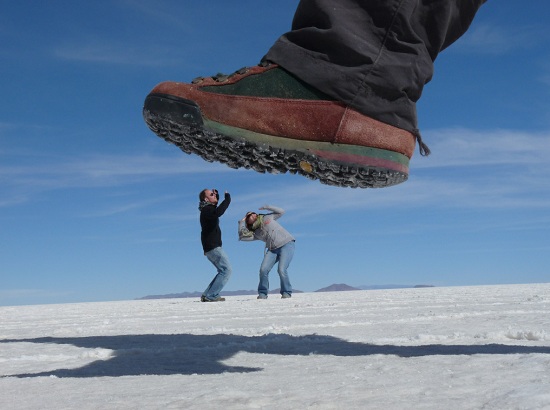
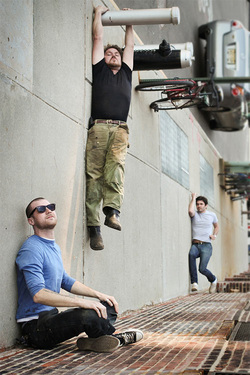
Trick Shot Photography
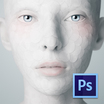
 THIS GUY IS NOT REALLY BEING SUCKED OUT OF A BUILDING IS HE?
Directions
The purpose of this assignment is to test your ability to create “trick shot” special effects using the camera and basic editing skills with Photoshop. Listed below on this page are information and examples on the different types of "trick shot" photography.
Forced Perspective
In our daily lives we use perspective to visually perceive the distances of objects and ourselves. Distorting the perspective produces the illusion of abnormally large or small objects in comparison to the rest of the objects in the photograph. This effect is possible because a camera produces an image in two dimensions as opposed to our eyes that work in three dimensions. When we're unable to tell if the objects are actually further or nearer to the camera and assume it is actually of a similar distance, then objects appear smaller if they are further away while closer objects appear bigger. This is probably the simplest trick photography to pull off, as you only need to move your camera and the subject matter around until you get what you want.
Angles
Another easy trick is to turn the camera on its side. With some creative poses, you can create mind-boggling images simply by turning your camera around. The trick to this technique is to shoot something that when turned to the side has a completely different meaning. For example, if you lie on the floor horizontally and take a picture with the camera rotated ninety degrees; it would look as if you're climbing up a sheer wall vertically.
Levitation
This is also a simple but very creative trick that will leave your viewers scratching their heads. You don't need Photoshop (but you could use Photoshop for this type - see more examples and technique here) to create pictures of people hovering a few inches off the ground. What you need is an able and willing model who is happy to keep jumping around on your command. You basically set a high shutter speed on your camera to remove any blurring that will destroy the illusion, ask your model to jump and then snap away. The more outrageous the mid-air pose, the more stunning it is.
YOU must take several photos (a minimum of 2) and use Photoshop to edit, composite and create the final image. Total points possible - 100pts.
Decide on the type of trick shot photo you want to create. Again, look at the descriptions on different trick shot photography at the top of this page.
Where (what location) can you take this photo? These photos cannot be taken during class time!
If needed have someone help you with this at home when you are taking the photo. Do you need another person in the photo (like the example below).
DON'T just take one photo. What if the photo does not come out just right? Take a few photos, just in case.
Be creative and think of an interesting trick shot to create yourself.
STEPS Drag and drop all images together in Photoshop
You may need to adjust the colors and contrast from the three separate images to better match your new composite. This can be accomplished using Adjustment Layers - Levels, Curves, or Hue & Saturation.
Save this completed image as: Your Last Name_trick photo.psd on the V: drive > Digital Photograph > project folder