Partner Photo shoot and project
You will have to partner up with someone in class to shoot your photos. You will shoot in both the studio in the art office on a black background and in the hallway on a white background. Some props will be provided to you but I encourage you to bring some of your own. You will need to take 21 photos on the white background and 21 photos on the black background for a total of 42 portraits. This should give you plenty of photos to work with so that you can edit out the ones you do not like.
These photos will be shot and edited in Camera Raw and Photoshop.
These photos will be shot and edited in Camera Raw and Photoshop.
|
White Background Photos:
3 Rule of Thirds 3 Center the Eye 3 Filling the Frame 3 Bird's Eye View 3 Model making eye contact 3 Model looking outside of the frame 3 Faceless Portraits 21 Total Photos |
Black Background Photos:
3 Rule of Thirds 3 Center the Eye 3 Filling the Frame 3 Bird's Eye View 3 Model making eye contact 3 Model looking outside of the frame 3 Faceless Portraits 21 Total Photos |
3 High Contrast Black and white
Black and white images appear to be more timeless than color images. As evidenced by the color schemes produced by particular types of film or by trends in digital processing, color can sometimes suggest a specific era. Removing the color makes it more difficult to put an exact date on a photo. A lack of color in a photograph often accentuates the light and shadows. Backlit subjects and dramatic shadows are brought to the audience’s attention quickly in black and white images.
Many fine art photographers prefer black and white images for their tendency to distance the subject matter from reality. Humans see the world in color, and a rendition of the world in monochrome makes us pause and look closely. Removing color from a picture helps the viewer to focus on a subject’s emotional state. Black and white portraiture lets the audience see the subject’s face and read his or her eyes without distraction.
Create a stunning black-and-white image using Camera Raw. When you talk to photographers about great B&Ws, you’ll always hear them talk about high-contrast B&Ws, so you already know what you need to do—you need to create a high-contrast B&W. That basically means making the whites whiter and the blacks blacker.
STEP 1
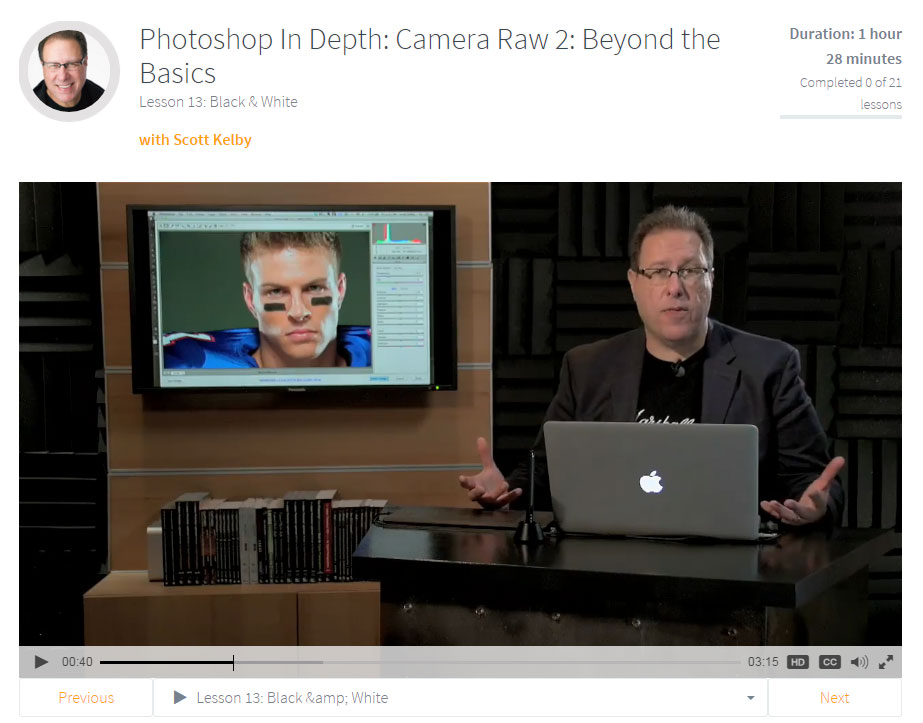
Watch the KelbyOne video on Black and White Photography below. Scott Kelby will explain how to create a stunning, high contrast black and white image using Camera Raw.
Many fine art photographers prefer black and white images for their tendency to distance the subject matter from reality. Humans see the world in color, and a rendition of the world in monochrome makes us pause and look closely. Removing color from a picture helps the viewer to focus on a subject’s emotional state. Black and white portraiture lets the audience see the subject’s face and read his or her eyes without distraction.
Create a stunning black-and-white image using Camera Raw. When you talk to photographers about great B&Ws, you’ll always hear them talk about high-contrast B&Ws, so you already know what you need to do—you need to create a high-contrast B&W. That basically means making the whites whiter and the blacks blacker.
STEP 1
Watch the KelbyOne video on Black and White Photography below. Scott Kelby will explain how to create a stunning, high contrast black and white image using Camera Raw.

STEP 2
Select 3 of your best photos (portraits) taken in the studio and edit in Adobe Bridge > Camera RAW editor.
Select 3 of your best photos (portraits) taken in the studio and edit in Adobe Bridge > Camera RAW editor.
STEP 3 (Optional)
Click the Open button on the bottom right to open the image in Photoshop.
Duplicate the layer. (CTRL+J)
Use the Healing brush and /or Clone stamp tool to remove any skin imperfections (blemishes).
STEP 4
Start putting the before and after photos in a Google Slide Presentation. Label the entire presentation "Portraits". Be sure to label these black and white.
5 Full Color
STEP 1
Select one of your better photos to edit in Camera Raw.
STEP 2
Crop the photo where necessary. Can you improve the composition by cropping? Are there studio lights, the wall, ceiling, etc. in the frame? Continue to think about the rules of composition when you crop. Can you make it show the rule of thirds, center the eye, or filling the frame?
|

|
STEP 3
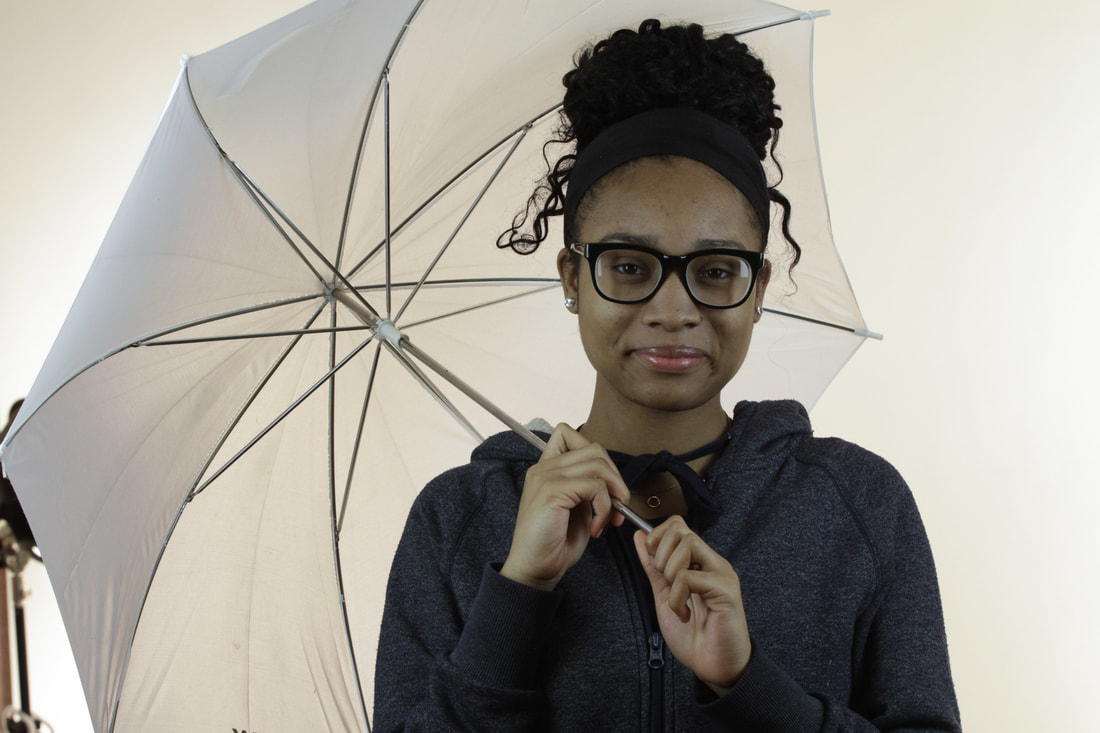
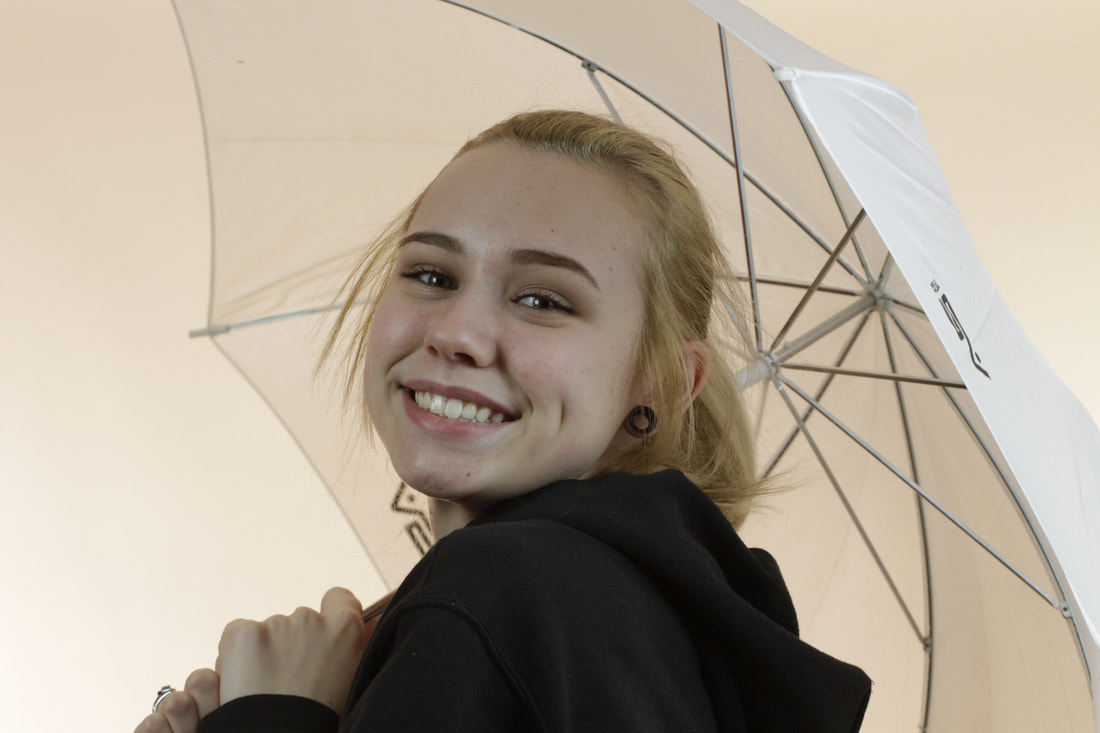
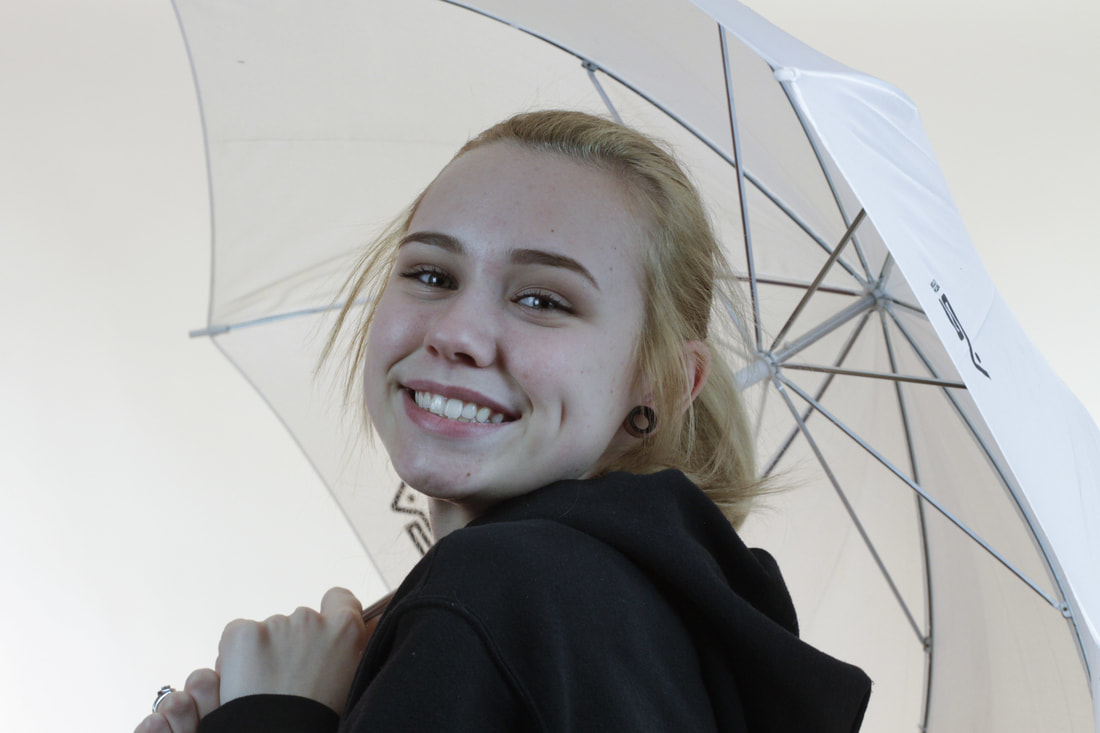
Fix the White Balance. This is especially necessary for the photos on the white background, but probably also needs to be done on the black background. Sometimes the change will be drastic and sometimes it will be subtle. You can see on the image below that correcting the white balance has gotten rid of the yellow-orange hue in the background and umbrella.
Fix the White Balance. This is especially necessary for the photos on the white background, but probably also needs to be done on the black background. Sometimes the change will be drastic and sometimes it will be subtle. You can see on the image below that correcting the white balance has gotten rid of the yellow-orange hue in the background and umbrella.
|
|
STEP 4
Now begin working through the sliders in Camera Raw to edit your photo.
Now begin working through the sliders in Camera Raw to edit your photo.
1 Color ACCENT
Click the link here and follow the directions.
3 Gritty High Contrast Dave hill and Joel Grimes Style Photos
See examples of these at:
http://www.davehillphoto.com/
http://www.scottkelby.com/blog/2008/archives/1094
http://www.flickr.com/photos/29210138@N04/sets/72157606507745100/
http://photography-on-the.net/forum/showthread.php?t=603855
STEP 1
Select one of your best photos (portraits) taken in the studio and open it in Adobe Bridge > Camera RAW editor.
Apply these settings under the Basic tab:
Here is the basic formula:
- Highlights = 100
- Shadows = 60
- Blacks = Drag this slider to the left until photo looks balanced again, because setting the Highlight at 100 will wash the photo out big time. (approx. -50)
- Contrast = 100
- Clarity = 60
- Vibrance = 100
- Saturation = -75 (basically what I do here is drag the saturation all the way to the left, to -100 (which removes all color, making it a black and white image), and then I slowly drag back to the right until some of the color starts to return to the image.

STEP 2
Click the Open button on the bottom right to open the image in Photoshop.
STEP 3
Duplicate the layer (CTRL+J)
STEP 4
Filter > Other > High Pass.. this will enhance edge sharpness. It will make your image pop more.
Try about 3.5. You want to only emphasize the edges of the picture. Change the layer blend mode to Overlay.
If you did it too much.. just lower the layer’s opacity.
STEP 5
Duplicate the layer (CTRL+J)
STEP 6
Filter > Blur > Surface Blur..
Add a layer mask to this and paint with black paint over the eyes,
STEP 7
Now use the Dodge & Burn tools to adjust the highlights & shadow areas.
The highlight areas will need more lightening than darkening the shadows.
In the Options Bar for the Burn tool set it to Highlights and 20%.
Go over the lightest parts of the image and increase these light values with a small round soft edge brush.
STEP 8
Flatten the image by highlighting all of your layers, right click and select Flatten Image.
STEP 9
The final step is to sharpen the image.
Go to FILTER - SHARPEN - UNSHARP MASK
U se the following settings:
- AMOUNT: 140%
- RADIUS: 30.0 pixels
- THRESHOLD: 0